


Playing with density through layering liquids can turn a simple afternoon into an exciting science experiment. This engaging activity not only entertains but also provides insight into fundamental scientific principles. By understanding the concept of density, participants can create visually stunning layers that showcase the diverse properties of various liquids.
Gathering a few common liquids, such as oil, water, and syrup, allows for an easy start. Each liquid has a different density, which determines how they interact with one another. When poured carefully, these liquids can form distinct layers, demonstrating the intriguing effects of density in real-time.
This exploration is not just for children; it’s an opportunity for anyone curious about science to engage in hands-on learning. Observing how different substances behave can spark interest in chemistry and physical science. With a few household items, anyone can create a captivating display right at home.
Understanding Liquid Density
Liquid density is a key concept in understanding how different substances interact. It describes how much mass a liquid contains within a given volume and affects various phenomena, including layering different liquids.
Fundamentals of Density
Density is defined as mass divided by volume, expressed in units like grams per cubic centimetre (g/cm³). The formula for density is:
[ text{Density} = frac{text{Mass}}{text{Volume}} ]
Different liquids have unique densities, determined by their molecular structure and temperature. For example, water has a density of approximately 1 g/cm³ at room temperature. This means that liquids with a density less than 1 g/cm³, such as oil, will float on water. In a density experiment, one can observe how liquids with different densities behave when layered. This layering occurs because less dense liquids rise to the surface while denser liquids sink.
Density in Daily Life
Density plays a critical role in everyday scenarios. It can affect how objects behave in liquids, such as why some items float or sink.
Common examples include:
- Cooking: Oil floats on vinegar in salad dressings due to its lower density.
- Beverages: Cream floats atop coffee, tangibly showcasing the concept of density.
This understanding of density is practical for various applications, from cooking to practical science experiments. Awareness of how liquids interact based on their densities helps in both daily tasks and scientific explorations.
Creating a Density Column
Constructing a density column is an engaging activity that illustrates the concept of varying liquid densities. By layering different liquids, one can observe how they interact based on their densities.
Selection of Liquids
Choosing the right liquids is crucial for a successful density column. Here are some common liquids that work well:
- Water: A standard reference with a density of 1 g/cm³.
- Vegetable Oil: Typically has a density around 0.92 g/cm³, making it lighter than water.
- Corn Syrup: This liquid has a higher density, approximately 1.3 g/cm³.
- Alcohol: Depending on the type, its density can vary but often falls around 0.79 g/cm³.
- Food Colouring: When combined with water, it adds visual appeal without significantly altering the density.
Selecting liquids with distinctly different densities ensures clear layering. The order of layering generally follows from the densest at the bottom to the least dense on top.
Step-By-Step Layering Guide
Creating a density column involves careful layering. Follow these steps for best results:
- Prepare the Container: Use a clear glass or plastic container for visibility. Ensure it’s clean and dry.
- Add the Densest Liquid First: Pour a small amount of corn syrup into the bottom of the container. Do this slowly to avoid mixing.
- Layer the Next Liquid: Gently pour vegetable oil on top of the corn syrup. Use the back of a spoon to help guide the liquid and reduce mixing.
- Introduce Water: Next, add coloured water. Similar to the oil, pour it softly using a spoon.
- Finish with Lighter Liquids: If using alcohol, it should go on last. Pour gently to maintain distinct layers.
This method of layering allows clear observation of how different densities interact, creating a visually engaging column.
Experiments and Variations
Experimentation can enhance the understanding of liquid densities. By incorporating visual elements and manipulating temperature, participants can observe the effects of different substances. Exploring sugar’s role in density also leads to interesting results.
Incorporating Food Colouring
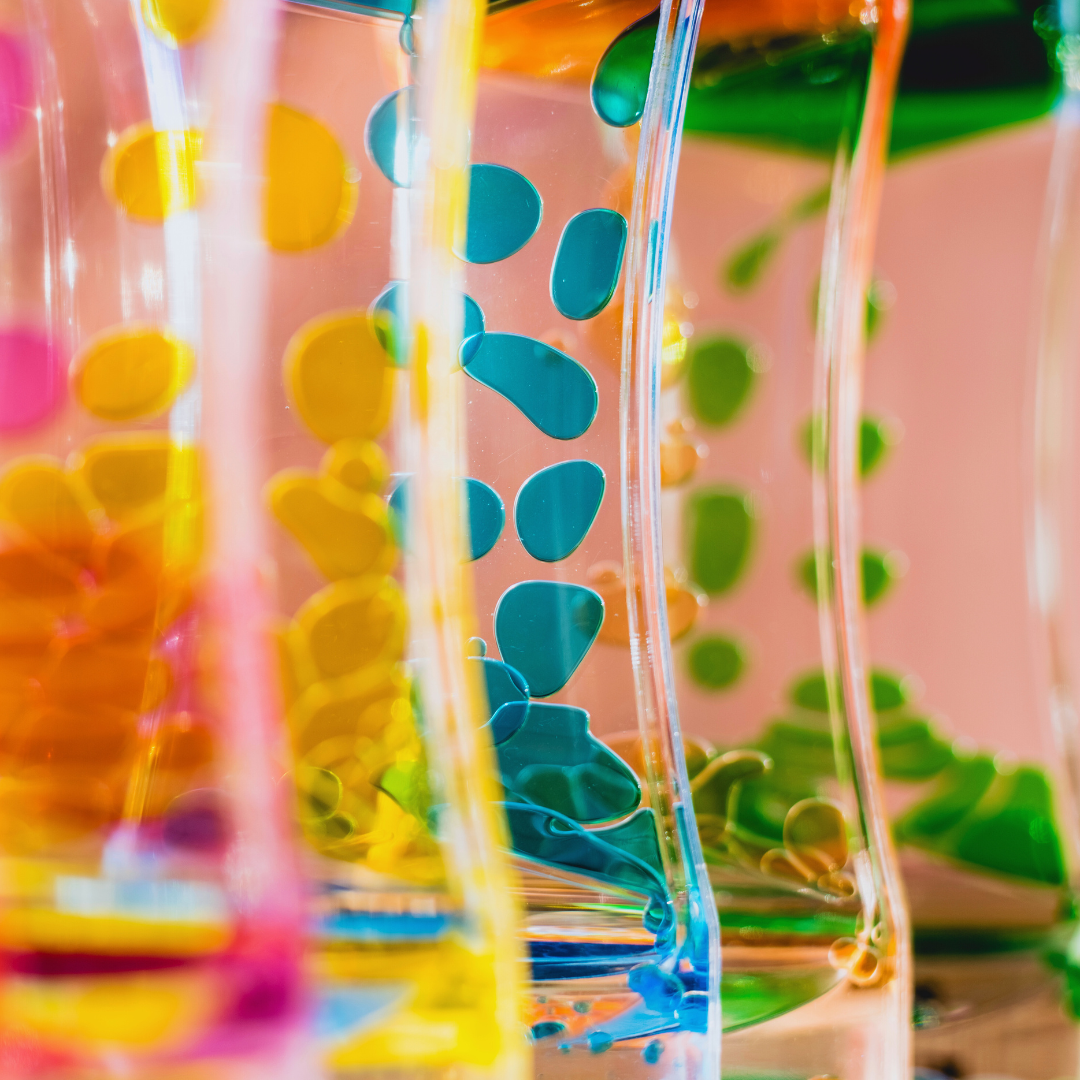
Adding food colouring to different liquid layers not only makes the experiment visually appealing but also serves as a useful tool for observing density. By choosing various colours, participants can easily identify where each liquid settles. For example, blue syrup can represent a denser liquid, while lighter green liquid can illustrate a less dense layer.
Using a graduated cylinder allows for precise measurement of each liquid’s volume. The food colouring helps in visualising how the liquids do not mix, making it easier to study the effects of density. Participants should use clear containers to maximise visibility.
Hot Water vs Cold Water Density
Temperature significantly influences the density of liquids. Generally, hot water has a lower density compared to cold water. In an experiment, participants can layer hot water and cold water to view the separation.
When pouring hot water gently on top of cold water, they often do not mix due to the difference in density. This separation can be an eye-catching demonstration. Using a graduated cylinder allows viewers to measure the liquid layers precisely, reinforcing the concept of density.
Understanding Sugar’s Role
Sugar impacts the density of a solution as it increases the mass without significantly altering the volume. A sugar solution can be layered with plain water in density experiments. For example, dissolving sugar in warm water produces a dense syrup that settles beneath regular water.
By creating various sugar concentrations, participants can observe different layers forming. Each solution’s density varies, demonstrating how solutes affect liquid behaviour. A graduated cylinder provides accurate measurements for each solution, helping to illustrate these differences clearly.


