


Building a simple circuit with foil and batteries is an accessible way to understand basic electronics. The process involves connecting the foil to create a pathway for the electric current supplied by the batteries, which powers a small device such as a light bulb or motor. The key is to ensure the foil pieces are securely connected to the battery terminals and each other, completing the circuit for electricity to flow.
This hands-on activity offers insight into how circuits work without requiring specialised tools or components. It’s a practical experiment that highlights the principles of conductivity and power, making it suitable for beginners or educational purposes.
By following a few straightforward steps, anyone can build a functioning circuit using everyday materials. This post breaks down those steps clearly, making the project simple to replicate and understand.
Essential Materials and Safety Precautions
Building a simple circuit requires specific components and a controlled environment to ensure proper assembly and safety. Using appropriate items and following safety rules can prevent accidents caused by electricity and ensure the circuit functions as intended.
Gathering Basic Components
The core materials needed include a battery as the power source, aluminium foil for the conductive path, and wires to connect elements. Tape is useful to secure connections and prevent loose contacts.
Choosing the right battery is important; a standard AA or AAA battery provides enough voltage for a basic circuit without being dangerous. Aluminium foil serves as a flexible conductor but should be handled carefully to avoid tearing. Wires help extend connections where foil cannot cover the distance.
It is advisable to have a small switch or a simple way to break the circuit, allowing control over the flow of electricity. These materials are commonly available and affordable.
Understanding Circuit Safety Guidelines
Electricity can cause burns or short circuits if mishandled. Always avoid exposing the aluminium foil to moisture, which can cause unintended conductivity and shorting.
Never connect the battery terminals directly with foil or wires without a load; this can drain the battery quickly and generate heat. Keep all connections tight to prevent sparks or overheating.
If the battery or components get warm, disconnect immediately. Do not use damaged batteries or corroded wires, as these increase risks.
Adult supervision is advised when working with children, given the use of electricity and sharp items like tape cutters.
Selecting a Suitable Workspace
The workspace should be dry, flat, and well-lit, preferably with a non-conductive surface such as wood or plastic. Avoid working on metal tables or near sinks to reduce the risk of electrical shock.
Keep the area organised with all materials within easy reach to prevent accidents. Dispose of any foil scraps or tape pieces safely, as these can pose fire hazards if left around.
Ensure there is enough ventilation to prevent heat buildup if multiple circuits are tested. Using a small box or tray to contain components can help maintain order and reduce the chance of short circuits.
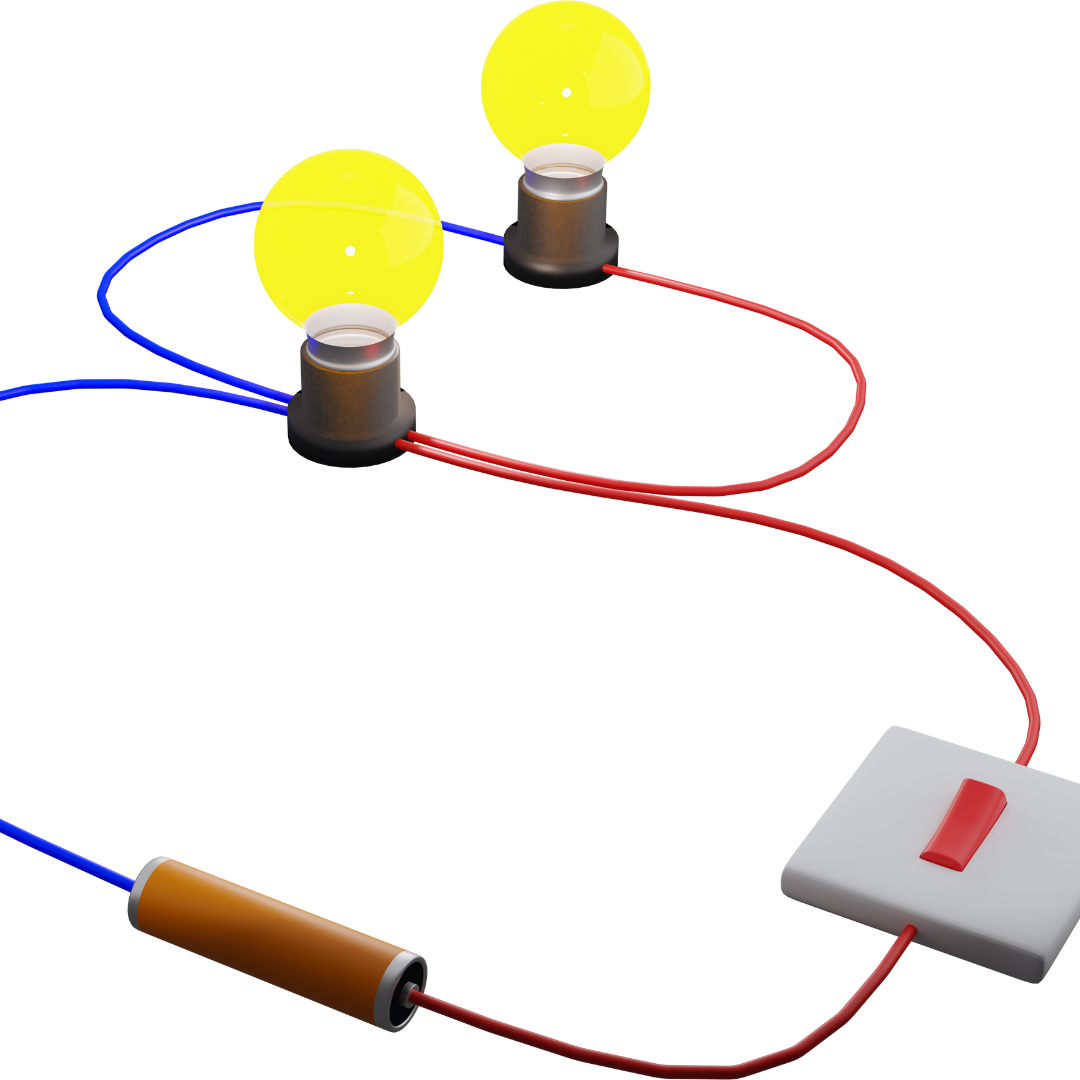
Understanding Simple Circuits
A simple circuit involves basic components that allow electricity to flow and power devices. It consists of a power source, conducting material, and a load that uses the electricity.
What Is a Simple Circuit?
A simple circuit is an electrical circuit with minimal parts. It usually includes a battery (power source), conductive material like foil (wires), and a device such as a small light bulb or LED (load).
The circuit forms a loop where electricity can travel. When all components are connected correctly, electricity moves through the circuit, powering the load. Simple circuits are essential to understand before building more complex ones.
How Electricity Flows in a Circuit
Electricity moves as a flow of electrons from the negative terminal to the positive terminal of the battery. Conductive materials like foil allow this flow by providing a path with low resistance.
The battery pushes electrons through the circuit, and the load uses this flow to perform work, such as lighting a bulb. Without a continuous path, electricity cannot flow, and the load will not work.
Key elements of electricity flow:
- Power source (battery)
- Conductive path (foil)
- Load (light bulb or LED)
Open Versus Closed Circuits
A closed circuit is a complete loop allowing electricity to flow from the power source, through the load, and back. This enables the device to function.
An open circuit has a break or gap that prevents electrical flow. For example, if the foil breaks or a connection is loose, electricity stops, and the load will not operate.
|
Circuit Type |
Condition |
Effect on Electricity Flow |
|
Closed |
Complete loop |
Electricity flows; the device works |
|
Open |
Broken or incomplete |
Electricity stops; device off |
Step-by-Step Guide: Building a Circuit With Foil and Batteries
This process involves cutting aluminium foil into conductive strips, connecting these to a power source, and attaching an LED light to complete the electrical circuit. Careful arrangement of these components ensures proper current flow, and testing will confirm functionality.
Preparing Foil Conductors
He should cut aluminium foil into narrow strips roughly 1-2 centimetres wide. These strips act as conductors to carry electricity between components. It is important to keep foil pieces flat and smooth to maintain consistent contact.
Next, he should place the foil strips on a non-conductive surface such as cardboard. Securing the strips with tape can prevent movement during assembly. The foil must not overlap except where a connection is needed to avoid short circuits.
He can fold foil edges slightly to create a better grip when attaching wires or battery terminals. This step ensures electrical contact remains stable after final assembly.
Connecting the Battery and Power Source
The battery serves as the power source in the circuit. He should use small wires or press the battery terminals directly onto the foil conductors to establish a solid connection.
One foil strip is connected to the battery’s positive terminal and another to the negative terminal. Both connections can be reinforced with tape to maintain contact. Using a standard AA or coin cell battery is recommended for simplicity.
He must verify that no foil strips touch directly except where intended to avoid short circuits. Ensuring polarity alignment (positive to anode, negative to cathode) is essential before proceeding.
Attaching and Testing the LED Light
The LED light has two legs: the longer leg is the anode (positive) and the shorter is the cathode (negative). He should place the LED legs on the corresponding foil strips, matching the battery connections.
Taping the LED legs gently to the foil secures the parts without damaging them. Once connected, the LED should illuminate when the circuit is complete.
If the LED does not light up immediately, he should check the polarity and connections before testing further.
Troubleshooting Common Issues
If the LED does not turn on, he should first verify battery charge and positioning. Reversing the LED legs or loose foil connections are common causes of failure.
He can check continuity by gently pressing foil connections and ensuring tape does not insulate contacts. Repeating the folding step on foil edges can improve contact quality.
If the LED still won’t light, replacing the battery or LED is a logical next step. He should also ensure no foil strips are touching in unintended places, which can cause short circuits or drain power.
Enhancing and Experimenting With Your Circuit
Building on basic simple circuits opens possibilities for adding controls, new components, and exploring effects like magnetism. Using everyday items allows hands-on learning about current flow, signals, and creating interactive projects.
Adding a DIY Switch Using Aluminium Foil
A simple switch can be created by folding aluminium foil into two small tabs and placing them so they touch or separate to open and close the circuit. When the tabs press together, they complete the circuit, allowing current to flow and power any connected components like an LED light.
To make it more reliable, attach the foil tabs to cardboard for stability. Mark the “ON” and “OFF” positions clearly. This switch helps control power without removing the battery and introduces the basic principle of interrupting current flow in circuits.
Integrating a Buzzer or Multiple LEDs
Connecting a buzzer along with LEDs can enhance the circuit’s output signals. Both components must share the correct polarity with the battery and be wired in parallel to ensure each receives full voltage.
Using a buzzer helps demonstrate sound generation from electrical energy, while multiple LEDs illustrate how circuits can power several outputs simultaneously. Care must be taken to avoid exceeding the battery’s current rating, which can cause dim lights or a quieter buzzer.
Exploring Magnetism and Circuit Designs
Adding a small magnet near metallic foil connections can influence the circuit through magnetic fields, which may induce slight changes or sparks in certain arrangements. This introduces electromagnetic concepts on a simple scale.
Experimenting with coils made from copper wire wrapped around cardboard can magnify magnetic effects. This hands-on approach helps visualise the relationship between electricity and magnetism in circuit designs without complex equipment.
Creative Project Ideas With Cardboard
Cardboard serves as an excellent base for arranging circuit components and insulating connections. It can be folded, cut, or layered to build models like simple robots or light-up cards using LEDs and foil wiring.
Projects using cardboard encourage creativity by combining engineering and art. Adding decorations or labelled switches improves usability and presentation. Cardboard’s availability and rigidity make it practical for most simple circuits using batteries and foil.


